
So I've shown you the complete first floor of our project house in this and this post, so now let's head upstairs, shall we?

There are no before and afters to show you up here, because this entire floor is complete new. At the top of the steps are a pair of bedrooms. (I'm crushing on that stairway light, big time.)

The bedroom on the left hosts Bo's new big boy bed. (Cue ugly mom tears.)


And the one on the right has Ryder's slightly more grown up version of his robot room.


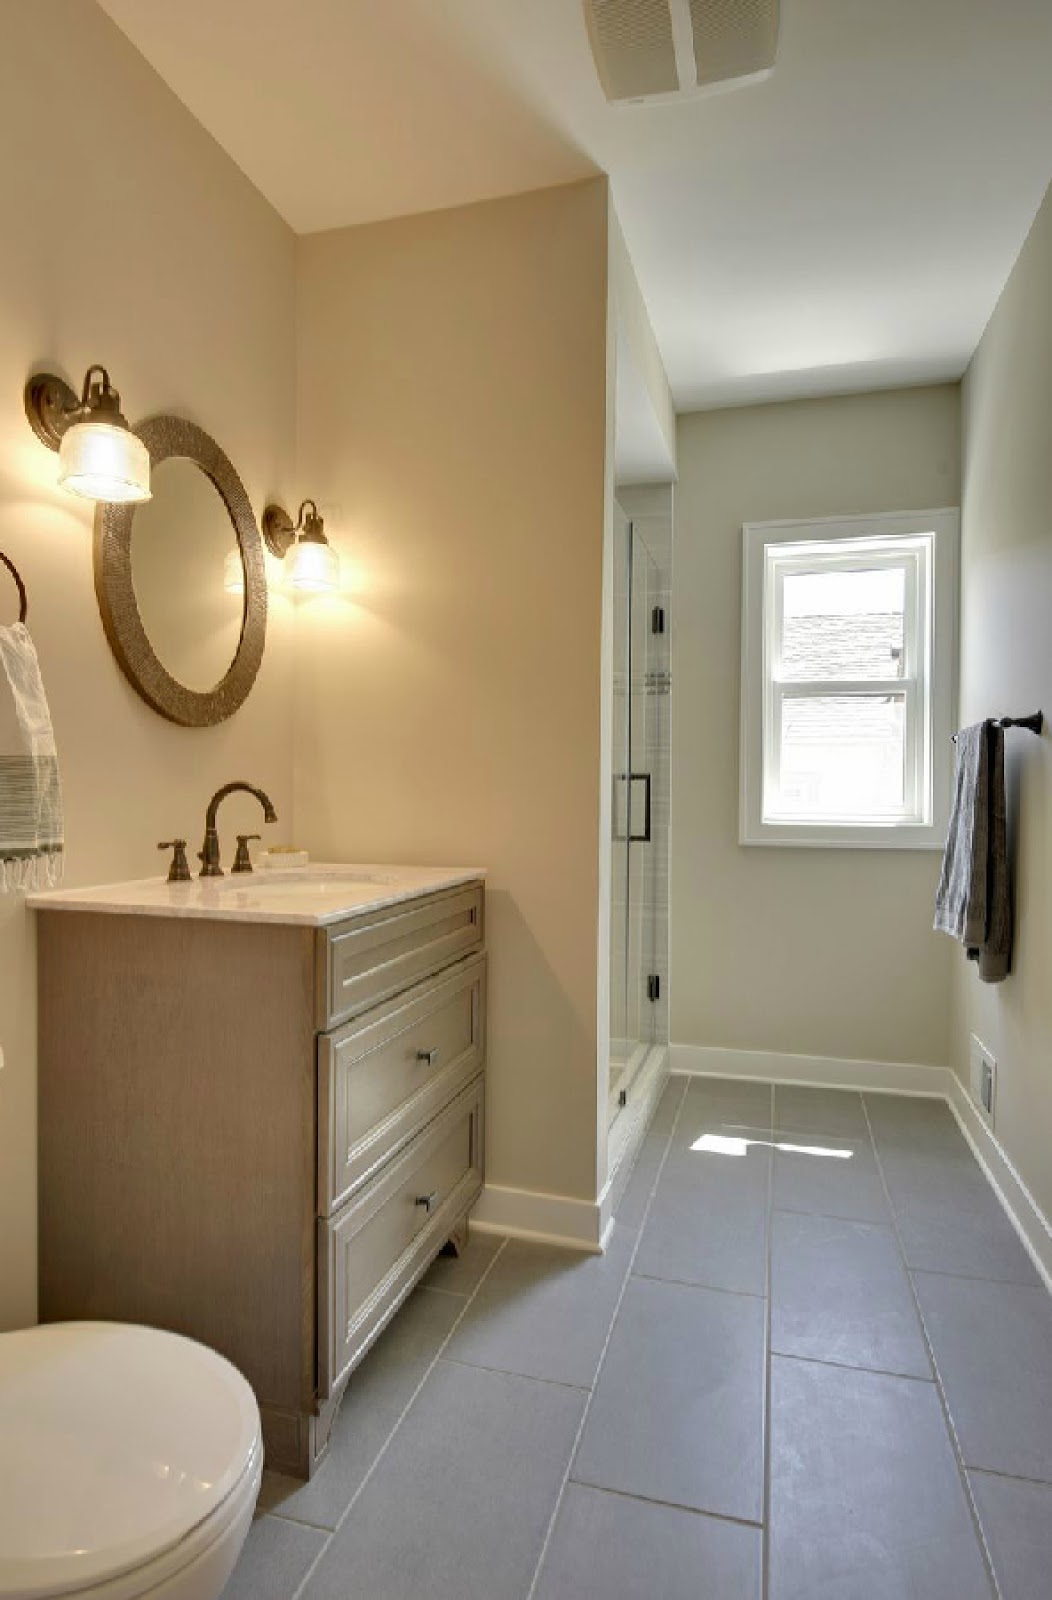
At the end of the hall the kids have this gray and white bathroom:


And there's this upstairs laundry, which is awesome.

But the most amazing part of the upstairs is back behind the stairs.

This incredible (and huge) Master Bedroom.


Through those french doors is the walk in closet of my dreams.


And through that pocket door is the Master Bathroom I don't deserve to have.

A private toilet room is behind that back door, leaving nothing but beautiful things to look at in this front space.

That shower and bath tub... I can't even.


So that's the upstairs! I'll show you what we did with the old 1920's basement next!


