
The title of this post comes straight from one of my favorite college t-shirts. Ah, college... those were the days.
But enough tequila drinking nonsense... I was going through and organizing some photos, and realized that I had a lot of before, during and after photos on our patio paver walkway project that we did in the first house. I don't have photos from every step, but if you all like a good before-and-after as much as I do, (and who doesn't, right?) I thought these would be worth sharing.
So in a few simple but dirrty steps, (that second r's for you Christina Aguilera) here is how you install a patio paver walkway.
Step 1- Draw out your desired walkway with spray paint on the grass. We wanted ours to be 3 feet wide, and have a nice gentle curve to the garage.


Step 2- Clear the space. In our case, we had to remove the old walkway, which was pretty easy with a chisel and hammer. (And my Hubby's big guns.) Even Ryder helped. You may need to break up your old patio with a sledge hammer first, and then dig up all the pieces.


Step 3- Dig out your area 7-9" deep, and an additional 6" wider on each edge. That will make room for about 4 inches of gravel or "Class 5", plus the height of your block so that your bricks are flush with the ground. The additional 6" on each side is to account for the edging that helps keep your blocks in a nice clean edge. (Especially important for a curved border.)
Step 4- Level and Tamp your area. Make sure that your area is slopped just slightly so that rain will run off the edge, not pool anywhere in the center of your patio. Once level, you can either use a hand tamper to firm up the ground or for very large spaces you can rent a large machine tamper. Which we didn't do, but should have, but we're gluttons for punishment like that.
Step 5- Fill with your gravel or Class 5. Freeze and thaw cycles can expand and change the layout of the ground over time, so if you fill your space with gravel or Class 5 the ground will be more steady and you'll have less risk of your bricks sinking and becoming uneven. Ask your local Home Improvement store which material is best for you in your area. Class 5 is recommended in Minnesota with our extreme winters.
Step 5- Fill with your gravel or Class 5. Freeze and thaw cycles can expand and change the layout of the ground over time, so if you fill your space with gravel or Class 5 the ground will be more steady and you'll have less risk of your bricks sinking and becoming uneven. Ask your local Home Improvement store which material is best for you in your area. Class 5 is recommended in Minnesota with our extreme winters.
Step 6- Stake in your edging. I didn't take a picture of this step, but our friends at DIY Network always have great tutorials and supplied this picture in this tutorial.

Notice that they are installing with the stakes to the outside of the patio. This is important to ensure your bricks are level. Full disclosure, we did this wrong at first and then had to go back and redo everything. Which was not awesome. One of us might have had a temper tantrum. Any guesses?
Step 7- Decide on your pattern and start to fill in your blocks. As you can see in our photo below, we wanted a border along the edges, and then filled with a herringbone pattern. Not the easiest pattern that we could have chosen on our skinny curved walkway. In retrospect, not sure what we were thinking.

Since we had some incredible help from our friends Morgan and Noel, we broke up into teams and 2 of us laid out the pattern while the second team followed by marking the cuts we would need on the blocks to fill the other spaces.
Step 8- Cut your blocks with a wet saw to fill in the pattern. Make sure not to work too far ahead, or the pattern will start to get off. We ended up adjusting the pattern quite a bit as we made our way down the line.
 | ||||
Our great friend Noel cutting the bricks on the wet saw as Ryder sits on the safe side of the yard he was allowed to play in and tells the rest of us to "Get to work!"
|

Step 9- Once all your bricks are in, fill in the cracks by sweeping the space with patio sand. (We recommend the weed preventive version so that you're not pulling weeds from your bricks every year.


Step 10- Remove the efflorescence. Efflorescence is often found on new pavers, and is white and chalky, causing a discoloration. Efflorescence usually goes away 6-12 months after the pavers have been installed. In our case, it made the patio look a blueish-gray, instead of the "sierra tan" and red tones we had intended, so we sped up the process by using a muriatic acid solution to remove the efflorescence. You can purchase it at most home improvements stores, and you simply scrub it on with a brush, and then rinse it off. If you choose to wait and let it go away naturally, DO NOT seal your patio until it is gone. Once sealed, the efflorescence cannot be removed unless the sealant is striped off.
 |
| View once the efflorescence was removed and bricks had a much more tan/red hue to them |
Step 11- Seal your patio to avoid any further discoloration of the bricks or weeds in the cracks.
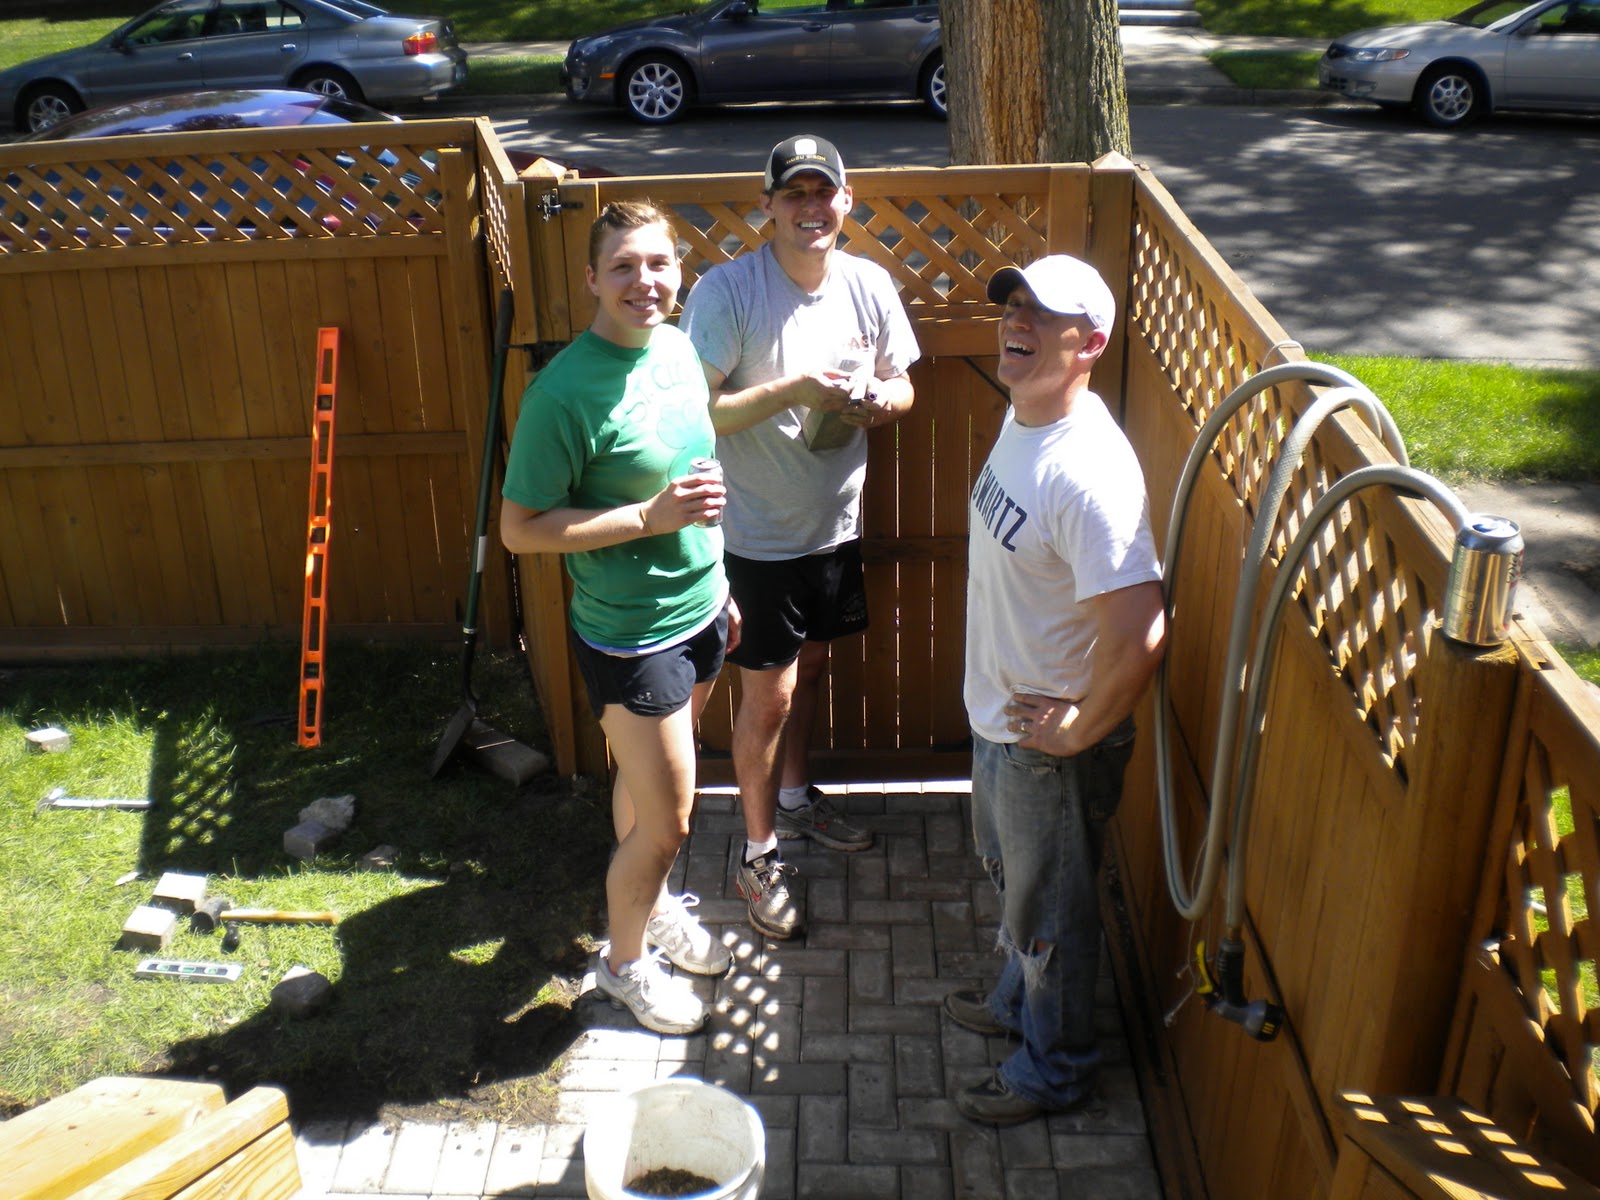 |
| A big shout-out to Morgan & Noel for all their incredibly hard work. We owe you guys a home improvement... or two. |
I feel so famous!
ReplyDeleteI see a future in Television Mrs. Swartz...LOL
ReplyDelete