
 |
| The layout of this half flight- with the current flooring. |
With the carpet in the hallway and the Playroom having seen much better days, we thought that replacing it with hardwoods would not only make this area more cohesive with the Foyer, Living Room, Dining Room, Kitchen and Loft that are all beautiful new maple hardwoods, but it would make this former bedroom feel less like a bedroom and more like the transition room that it is.
 |
| How the new flooring will look. |
So here's where we got started.
 |
| With a peak at the "new" artichoke green color in the Playroom. |
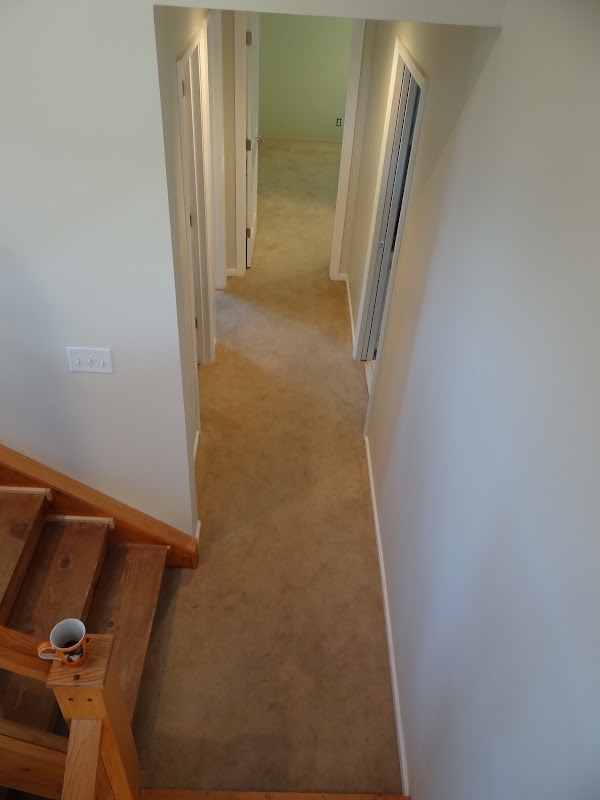 |
| Coffee in the left hand corner. Necessary. |


Step 2: Remove all the carpet tack on the sides of the rooms. I used a hammer and a chisel.
 |
| PS- Yes, that is the previous owner's pet hair caught behind the molding. We're still finding it everywhere 14 months later. Yuck. |
 |
| Yes, we're pretty sure that those "water" spots are from pet urine. The nasty carpet we pulled out sure gave us that impression. I almost vomited. |
Step 4: Remove all the staples.

I used a needle nose pliers and skinny chisel. This is the part where you curse the previous installers for using so many damn staples.
Step 4: Install the floor pad. We used QuietWalk sold at Lumber Liquidators, because it worked great in our first 1000 sq ft of wood floors, and it's eco freindly because its made of 97% recycled materials. You just cut it to size and duct tape the seams together.

Step 5: Lay your first row of flooring 3/8" from the wall, and start on the farthest wall to the right.

Step 6: Click & Lock Baby. Since we used the click-lock flooring (ours is composite hardwood, which we learned through our research handles best in the humid Minnesota weather,) it was a breeze to click each board into the row before it. I measured and marked the cuts on the edge, and the Hubs ran down to the saw in the garage to cut the lengths.

Step 7: Install molding and thresholds. While we had been rocking right along up until this point, unfortunately our molding brought us to a stand still.

No comments:
Post a Comment